


Overview
KalravAI is an AI-powered chatbot widget that can be integrated into modern web applications
across multiple frameworks, as well as plain JavaScript websites.
It is designed for fast integration with minimal configuration, requiring only two mandatory
inputs.
Key Features
- Multi-framework support: React, Next.js, Vue, Angular
- No-framework / Vanilla JavaScript support
- Lightweight and performance-optimized
- TypeScript-ready
- SSR compatible
- Customizable through dashboard configuration
- Minimal setup
Prerequisites
Before integration, keep the following ready:
- API Key
- Agent ID / Bot ID
These are the only mandatory inputs required during setup.
Installation
Install using your preferred package manager:
npm install @irisidea/kalrav-ai
# or
yarn add @irisidea/kalrav-ai
# or
pnpm add @irisidea/kalrav-ai
How It Works
The widget requires only the following properties:
apiKey = "your-api-key"
agentId = "your-agent-id"
All additional settings are automatically fetched from the KalravAI dashboard configuration.
This includes:
- Agent name and logo
- Theme colors
- Placeholder text
- Default questions
- Feature toggles
- Language settings
- Feedback settings
Integration Methods
Kalrav AI supports two integration approaches:
-
Framework-Based Integration
The integration flow is common across all frameworks:
- Import widget
- Add widget component
- Pass required props
We support React.js, Next.js, Vue 3, Angular those.
- No Framework Integration
React
import { KalravWidget } from '@irisidea/kalrav-ai/react';

function App() {
return (
<div>
        <KalravWidget
        apiKey="your-api-key"
        agentId="your-agent-id"
        />
</div>
);
}
Next.js
Recommended placement: root layout for global availability
import { KalravWidget } from '@irisidea/kalrav-ai/nextjs';

export default function RootLayout({ children }) {
return (
<html>
    <body>
    {children}
    <KalravWidget
        apiKey="your-api-key"
        agentId="your-agent-id"
    />
    </body>
</html>
);
}
Vue 3
<template>
<KalravWidget
api-key="your-api-key"
agent-id="your-agent-id"
/>
</template>

<script setup>
import { KalravWidget } from '@irisidea/kalrav-ai/vue';
</script>
Angular
Module Setup
import { KalravModule } from '@irisidea/kalrav-ai/angular';

@NgModule({
  imports: [
    BrowserModule,
    KalravModule
  ]
})
export class AppModule {}
No Framework Integration
This approach is ideal for:
- Static HTML sites
- Legacy applications
- CMS-based websites
- Projects without React/Vue/Angular
Option 1: CDN Integration (Recommended)
Use this when there is no build system.
<!DOCTYPE html>
<html>
<head>
<title>My Website</title>
</head>
<body>
<h1>Welcome</h1>
<button id="chatBtn">Chat with us</button>

<script type="module">
import { createKalrav } from 'https://cdn.jsdelivr.net/npm/@irisidea/kalrav-ai@latest/dist/index.mjs';

const kalrav = createKalrav({
    apiKey: 'your-api-key',
    agentId: 'your-agent-id',
});

document.getElementById('chatBtn').onclick = () => {
    kalrav.open();
};
</script>
</body>
</html>
Option 2: NPM / Bundler Integration
Use this when working with Webpack, Vite, Parcel, etc.
import { createKalrav } from '@irisidea/kalrav-ai';

const kalrav = createKalrav({
 apiKey: 'your-api-key',
 agentId: 'your-agent-id',
 primaryColor: '#4F46E5',
 autoLoad: true
});

kalrav.open();
Core Concept
Instead of using a component, this approach uses:
const kalrav = createKalrav(config);
This returns a widget controller instance.
Configuration Options
| Option | Type | Required | Default | Description |
|---|---|---|---|---|
| apiKey | string | Yes | — | API key |
| agentId | string | Yes | — | Bot ID |
| primaryColor | string | No | #4F46E5 | Theme color |
| autoLoad | boolean | No | true | Auto load widget |
Widget API Methods
Both framework and no-framework integrations support these methods.
kalrav.load();
kalrav.unload();
kalrav.open();
kalrav.close();
kalrav.isLoaded();
kalrav.call('customMethod', args);
Method Details
load()
Loads widget manually.
await kalrav.load();
unload()
Removes widget from page.
kalrav.unload();
open()
Opens chat widget.
kalrav.open();
close()
Closes chat widget.
kalrav.close();
isLoaded()
Checks widget status.
if (kalrav.isLoaded()) {
 console.log('Widget ready');
}
Advanced Usage
Lazy Loading
Recommended for performance optimization.
const kalrav = createKalrav({
 apiKey: 'your-api-key',
 agentId: 'your-agent-id',
 autoLoad: false
});

// Load later
kalrav.load();
Custom Widget URL
For self-hosted deployments:
<KalravWidget
  apiKey="your-api-key"
  agentId="your-agent-id"
  widgetUrl="https://your-domain.com/widget.js"
/>
Environment Variables (Recommended)
React / Next.js
NEXT_PUBLIC_KALRAV_API_KEY=your-api-key
NEXT_PUBLIC_KALRAV_AGENT_ID=your-agent-id

<KalravWidget
  apiKey={process.env.NEXT_PUBLIC_KALRAV_API_KEY}
  agentId={process.env.NEXT_PUBLIC_KALRAV_AGENT_ID}
/>
Vue / Vite
VITE_KALRAV_API_KEY=your-api-key
VITE_KALRAV_AGENT_ID=your-agent-id
<KalravWidget
  :api-key="import.meta.env.VITE_KALRAV_API_KEY"
  :agent-id="import.meta.env.VITE_KALRAV_AGENT_ID"
/>
TypeScript Support
Kalrav AI provides full type definitions.
import type { KalravConfig } from '@irisidea/kalrav-ai';

const config: KalravConfig = {
 apiKey: 'your-api-key',
 agentId: 'your-agent-id'
};
Browser Support
Supported browsers:
- Chrome
- Firefox
- Safari
- Edge
(latest versions)
Best Practice Recommendations
- Use environment variables for credentials
- Use lazy loading for performance
- Add widget in global layout for SPA frameworks
- Use CDN integration for static sites
- Keep branding controlled via dashboard
Overview
Integrate Kalrav AI seamlessly into PHP-based websites and applications, including popular
platforms like WordPress, custom PHP applications, portals, and business websites.
The Kalrav AI PHP Integration allows developers to quickly embed AI-powered chat, customer
engagement, and automation capabilities into their existing systems with minimal setup
effort.
Whether you are managing a business website, customer support portal, eCommerce platform, or
custom web application, Kalrav AI helps deliver intelligent and interactive user experiences
directly within your PHP environment.
WordPress Integration
This guide provides a structured, step-by-step walkthrough for integrating the Kalrav AI Agent into a WordPress environment.
Prerequisites
Before beginning the installation, ensure you have the following:
- Administrative Access: Access to the WordPress Admin Dashboard.
- API Credentials: An Agent ID and Secret Key generated from the Kalrav central system.
Installation Methods
You can deploy the plugin using the automated directory search or a manual file upload.
Method A: Automatic Installation (Recommended)
- Log in to your WordPress Admin Dashboard.
-
Navigate to Plugins > Add Plugin in the sidebar menu.
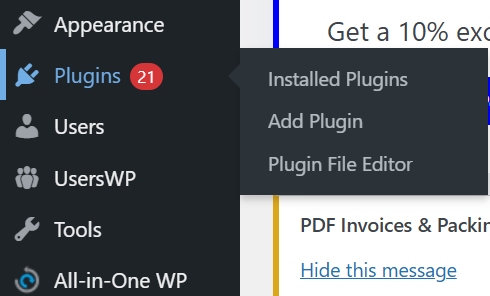
-
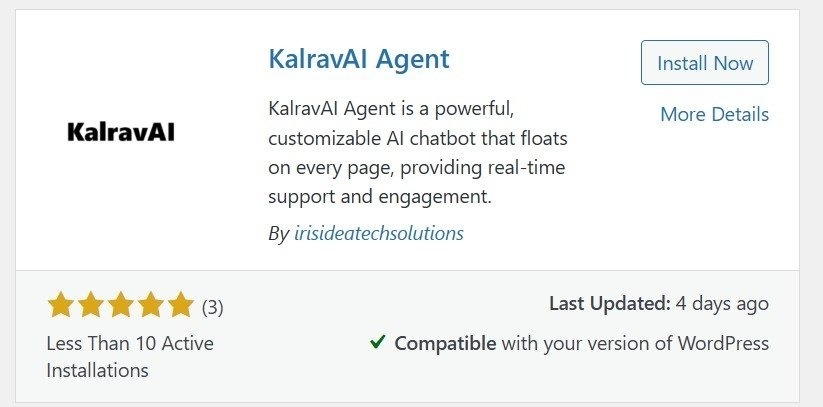
In the search field, enter "Kalrav" (or keywords like "AI Agent" or "Chatbot").

-
Locate the Kalrav AI Agent by irisideatechsolutions in the results.

- Click Install Now.
-
Once the process completes, click Activate to enable the plugin.

Method B: Manual Installation (ZIP Upload)
- Download the plugin ZIP package from the official repository.
- Login to your WordPress Admin Dashboard.
- In the WordPress Admin Dashboard, go to Plugins > Add New.
-
Click the Upload Plugin button at the top of the page.
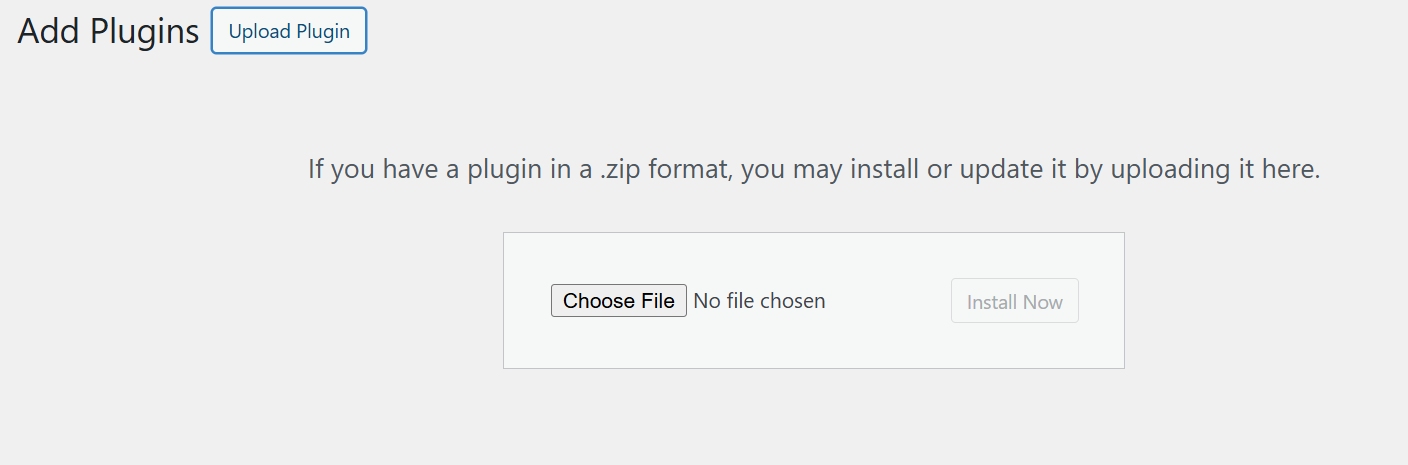
- Select Choose File and upload the downloaded kalrav-ai-agent.zip file.
-
Click Install Now, then select Activate once the upload is successful.
Configuration & API Integration
Once the plugin is active, you must connect it to the Kalrav engine using your API credentials.
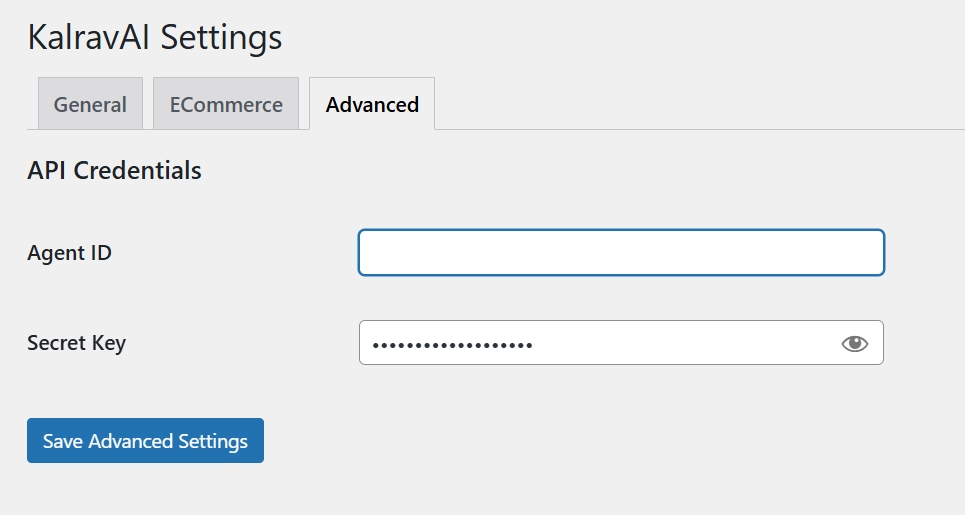
- Navigate to the KalravAI Settings menu in your dashboard ( Central System).
- Select the Advanced tab.
-
Locate the API Credentials section and input the following:
- Agent ID: Your unique identifier from the central system.
- Secret Key: The corresponding security key.
-
Click Save Advanced Settings to finalize the integration.
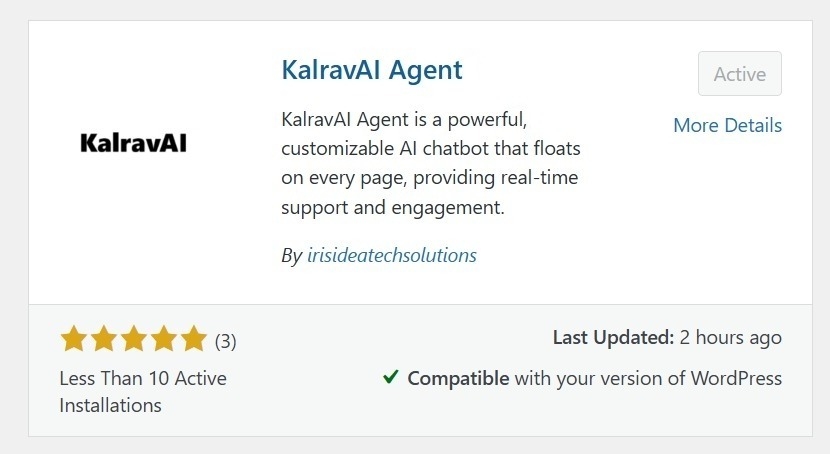
Verification
- Dashboard Status: Ensure the plugin appears as Active in the "Installed Plugins" list.
- Front-end Check: Verify that the AI chatbot interface (the "floating" agent) is visible and responsive on your website's front-end pages.
WooCommerce Plugin Installation
The KalravAI WooCommerce plugin follows the same installation and activation procedure as a standard WordPress plugin.
Please refer to the WordPress Integration Guide and follow the same steps to install, activate, and configure the WooCommerce plugin on your website.
The plugin is fully compatible with WooCommerce-enabled WordPress websites and integrates seamlessly with your existing setup.